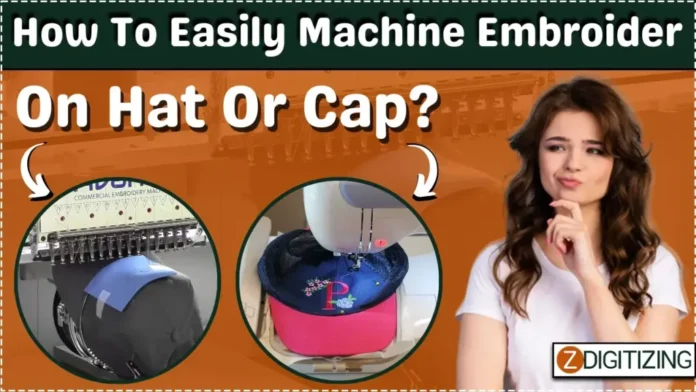
Machine embroidering on hats or caps can add a personalized touch to your headwear, whether for personal use or business branding. While it may seem daunting at first, with the right tools and techniques, you can easily achieve professional-looking results. In this comprehensive guide, we’ll walk you through the process of machine embroidering on hats or caps step by step.
Getting Started
Before we begin, let’s gather the necessary tools and materials:
- Embroidery Machine: Ensure you have access to an embroidery machine capable of embroidering on hats or caps. Some machines come with specific attachments for hat embroidery.
- Embroidery Hoop: Use a hoop specifically designed for hat embroidery, typically known as a cap frame or cap hoop.
- Stabilizer: Choose a stabilizer suitable for hat embroidery, such as tear-away or cut-away stabilizer, depending on the fabric and design complexity.
- Embroidery Thread: Select high-quality embroidery threads that complement your design and fabric color.
- Hat or Cap: Use a hat or cap made of suitable fabric for embroidery, such as cotton or polyester.
- Embroidery File Format Converter: If necessary, use software or a tool to convert your embroidery design file into a format compatible with your embroidery machine.
- Digitizing Services (Optional): If you don’t have the skills or software to digitize your design, consider using digitizing services to convert your artwork into embroidery files.
Step-by-Step Guide
1. Prepare Your Design
Start by selecting or creating an embroidery design suitable for hat embroidery. Keep in mind the size and shape constraints of hats or caps. Simplify complex designs if necessary for better stitch results.
2. Convert the Design File
If your design is not already in a compatible embroidery format, use an embroidery file format converter to convert it. Ensure that the design fits within the embroidery area of your cap hoop.
3. Hoop the Stabilizer
Place the cap hoop on a flat surface with the bill of the cap facing down. Hoop the stabilizer firmly, ensuring it is taut and smooth without wrinkles.
4. Attach the Hat to the Hoop
Insert the hat or cap onto the hooped stabilizer, aligning the center seam of the cap with the center line marked on the cap frame. Secure the hat in place using the clips or clamps provided with the cap hoop.
5. Load the Design
Load the converted embroidery design file into your embroidery machine. Position the design within the designated embroidery area to ensure proper placement on the hat.
6. Thread the Machine
Thread your embroidery machine with the appropriate color threads according to your design. Ensure the tension is adjusted correctly for smooth stitching.
7. Embroider the Design
Start the embroidery process, following the instructions provided by your machine’s manual. Monitor the stitching carefully, especially during the initial stitches, to ensure proper alignment and tension.
8. Remove the Hat from the Hoop
Once the embroidery is complete, carefully remove the hat from the hoop. Trim any excess stabilizer from the back of the embroidery, taking care not to cut the stitches.
9. Finishing Touches
Inspect the embroidered design for any loose threads or imperfections. Use small scissors to trim any stray threads. If necessary, iron the embroidered area on the reverse side to remove any wrinkles.
Tips and Considerations
- Practice on Scrap Fabric: Before embroidering on a hat or cap, practice your design on scrap fabric to familiarize yourself with the process and settings.
- Use Quality Materials: Invest in high-quality embroidery threads, stabilizers, and hats to ensure professional-looking results.
- Experiment with Designs: Don’t be afraid to experiment with different designs, thread colors, and placement options to create unique and personalized hats.
- Seek Professional Help: If you’re unsure about digitizing or embroidering complex designs, consider using digitizing services or consulting with experienced embroiderers.
Conclusion
Machine embroidering on hats or caps is a fun and rewarding craft that allows you to personalize your headwear with custom designs. By following this step-by-step guide and using the right tools and techniques, you can easily achieve professional-looking results that will impress friends, customers, or clients.
With practice and creativity, you can transform ordinary hats into stylish accessories that showcase your unique personality or brand identity.


