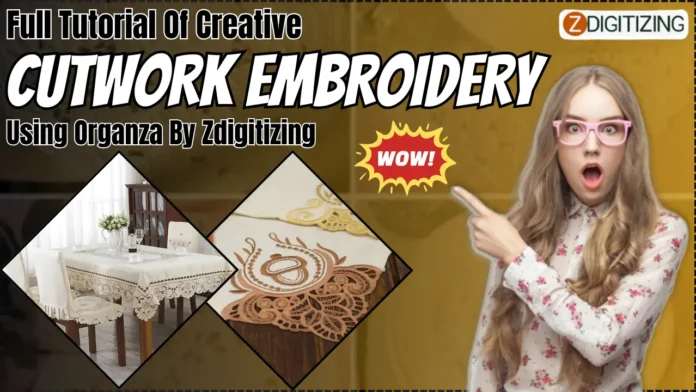
Embroidery digitizing and converting images to embroidery files have opened up new avenues for creativity and innovation in the world of embroidery. Cutwork embroidery using organza fabric is a stunning technique that adds texture, depth, and elegance to any project. In this tutorial, we will explore the step-by-step process of creating creative cutwork embroidery using organza, brought to you by ZDigitizing.
Materials Needed:
- Organza fabric
- Embroidery thread
- Water-soluble stabilizer
- Embroidery hoop
- Scissors
- Embroidery machine
Step 1: Design Selection and Digitization
Begin by selecting a design suitable for cutwork embroidery. Consider intricate motifs or geometric patterns that will showcase the beauty of cutwork. Once you have chosen your design, digitize it using embroidery digitizing software to convert the image into an embroidery file compatible with your machine.
Step 2: Hooping the Organza Fabric
Place a piece of water-soluble stabilizer in the embroidery hoop, ensuring it is taut and smooth. Lay the organza fabric on top of the stabilizer, ensuring it is wrinkle-free and flat. Secure the fabric in place by tightening the hoop.
Step 3: Stitching the Outline
Load the digitized design onto your embroidery machine and select the appropriate thread colors. Begin by stitching the outline of the design onto the organza fabric. This will serve as a guide for the subsequent steps of the embroidery process.
Step 4: Cutting Away the Fabric
Carefully cut away the excess organza fabric from within the stitched outline using sharp scissors. Take your time to ensure precision and accuracy, as this will determine the final outcome of the cutwork embroidery.
Step 5: Adding Embroidery Details
With the excess fabric removed, proceed to embroider the intricate details of the design. Choose thread colors that complement the organza fabric and enhance the overall aesthetic appeal of the embroidery.
Step 6: Dissolving the Stabilizer
Once the embroidery is complete, immerse the fabric in lukewarm water to dissolve the water-soluble stabilizer. Gently agitate the fabric to ensure thorough dissolving, then rinse it under running water to remove any residue.
Step 7: Drying and Pressing
Carefully remove the organza fabric from the water and lay it flat on a clean towel to dry. Once dry, gently press the embroidery using a low-heat iron to remove any wrinkles and creases.
Step 8: Finishing Touches
Trim any loose threads and inspect the embroidery for any imperfections. Make any necessary adjustments or repairs to ensure the final piece is flawless and ready for display or use.
Cutwork embroidery using organza is a versatile technique that can be used to embellish a wide range of projects, including garments, home decor items, and accessories. With its delicate appearance and intricate details, cutwork embroidery adds a touch of elegance and sophistication to any creation.
Embroidery digitizing and converting images to embroidery files have made it easier than ever to bring creative visions to life. Whether you’re a seasoned embroiderer or a novice enthusiast, experimenting with cutwork embroidery using organza is sure to inspire and delight.


